

V-Ray 7 Update 3: A Unified Rendering Workflow for Faster, More Realistic Results
The release of V-Ray 7 Update 3 marks a major step forward in how visualization professionals approach rendering, real-time design,...
Read More
SketchUp AI: Smarter Modeling, Faster Visualization, and Built-In Creative Support
How SketchUp AI Tools Are Transforming 3D Design Workflows Artificial intelligence is rapidly reshaping how designers work, and SketchUp...
Read More
Chaos Cosmos Expands with Over 7,000 New 3D Assets
Chaos Cosmos continues to grow, giving artists and designers even more flexibility when building high quality 3D scenes. Through an...
Read More
Chaos Expands AI Capabilities with EvolveLAB Acquisition
Chaos, a leader in visualization and design technology, has expanded its ecosystem with the acquisition of EvolveLAB, a pioneer in AI-powered...
Read More
V-Ray for Blender Update 2 Expands Professional Rendering Workflows
Chaos has released V-Ray for Blender Update 2, a major milestone that significantly expands the capabilities of V-Ray inside Blender....
Read More
Introducing Chaos Corona 14: Faster Rendering, Smarter Tools, and More Creative Control
The new Chaos Corona 14 for 3ds Max and Cinema 4D brings major upgrades designed to streamline workflows, enhance realism,...
Read More
Chaos Black Friday 2025: Shop 20% off your Favorite Products
Save 20% on V-Ray, Enscape & Corona Annual Licenses The biggest Chaos sale of the year is here. From November...
Read More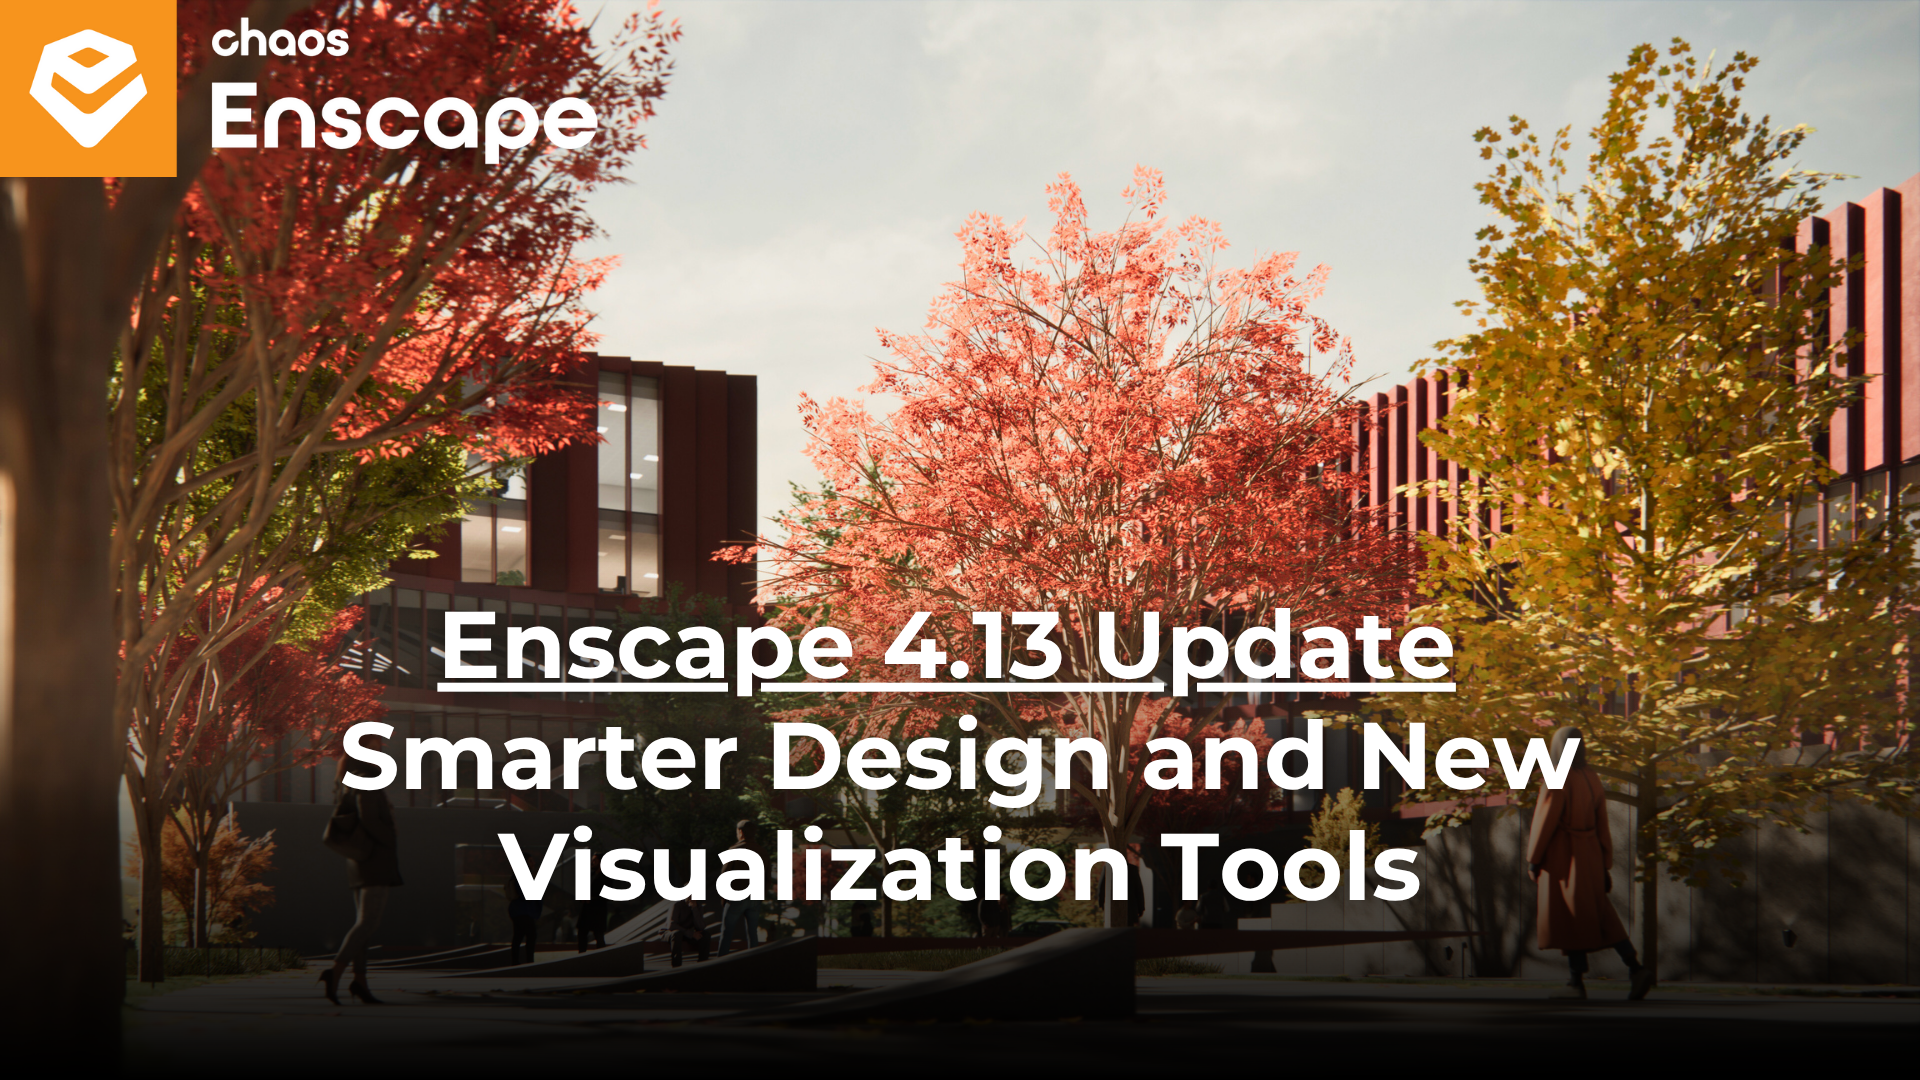
Designing Smarter with the Enscape 4.13 Update
The latest Enscape 4.13 update brings a powerful set of tools to help architects and designers create smarter, more sustainable...
Read More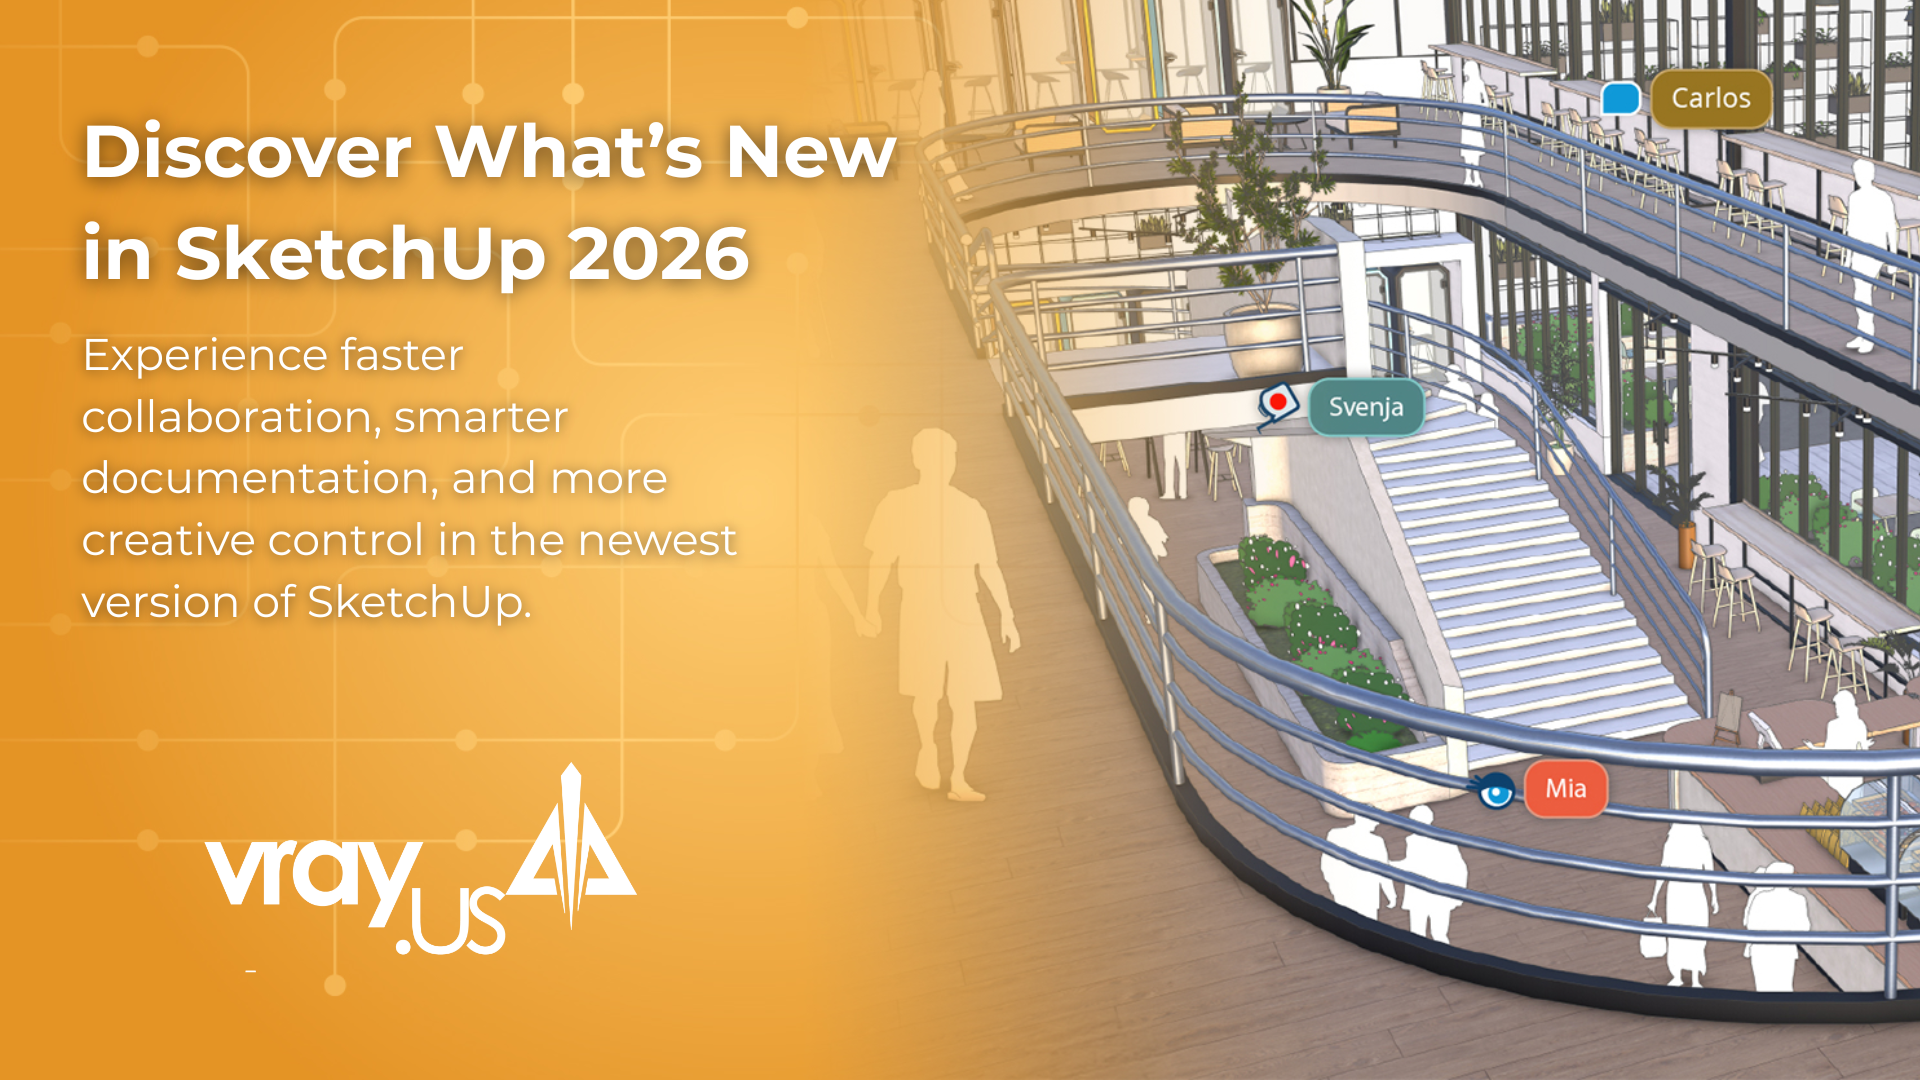
SketchUp 2026: Powerful Updates to Elevate Your Design Workflow
When it comes to 3D modelling software, every new version of SketchUp seeks to streamline workflows, improve collaboration, and enable...
Read More